
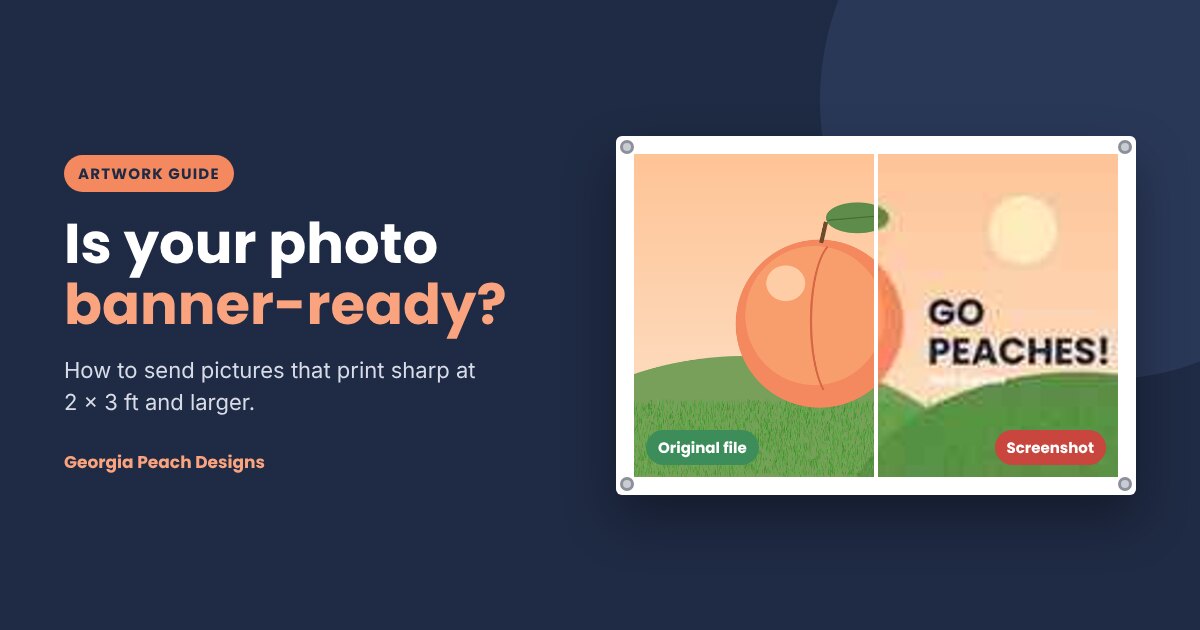
You've found the perfect picture for your banner: the team after the big win, a birthday photo, a memorial portrait, your storefront on opening day. Before you send it over, there's one thing that makes a huge difference in how it prints at 2 × 3 feet or larger: which copy of the photo you send us.
A photo can look perfect on your phone and still print blurry on a banner. That's not anything you did wrong. Phone screens are small and incredibly sharp, so they hide a lot. A banner stretches those same pixels across feet instead of inches, and that's where the difference shows up. This guide walks through what to send, how to check it, and what to do if a small photo is all you've got.
Why a photo can look great on your phone but not on a banner
Every digital photo is made of tiny squares called pixels. When we print, those pixels get spread across the banner. The more pixels in the file, the more detail there is to go around.
On a 6-inch phone screen, a 1,000-pixel-wide image looks crisp. Stretch those same 1,000 pixels across a 3-foot banner and each one becomes a little block you can see. Software can enlarge (upscale) an image, but it can only guess at the missing detail. Results vary, and faces, fine text and textures like grass or hair usually suffer most.
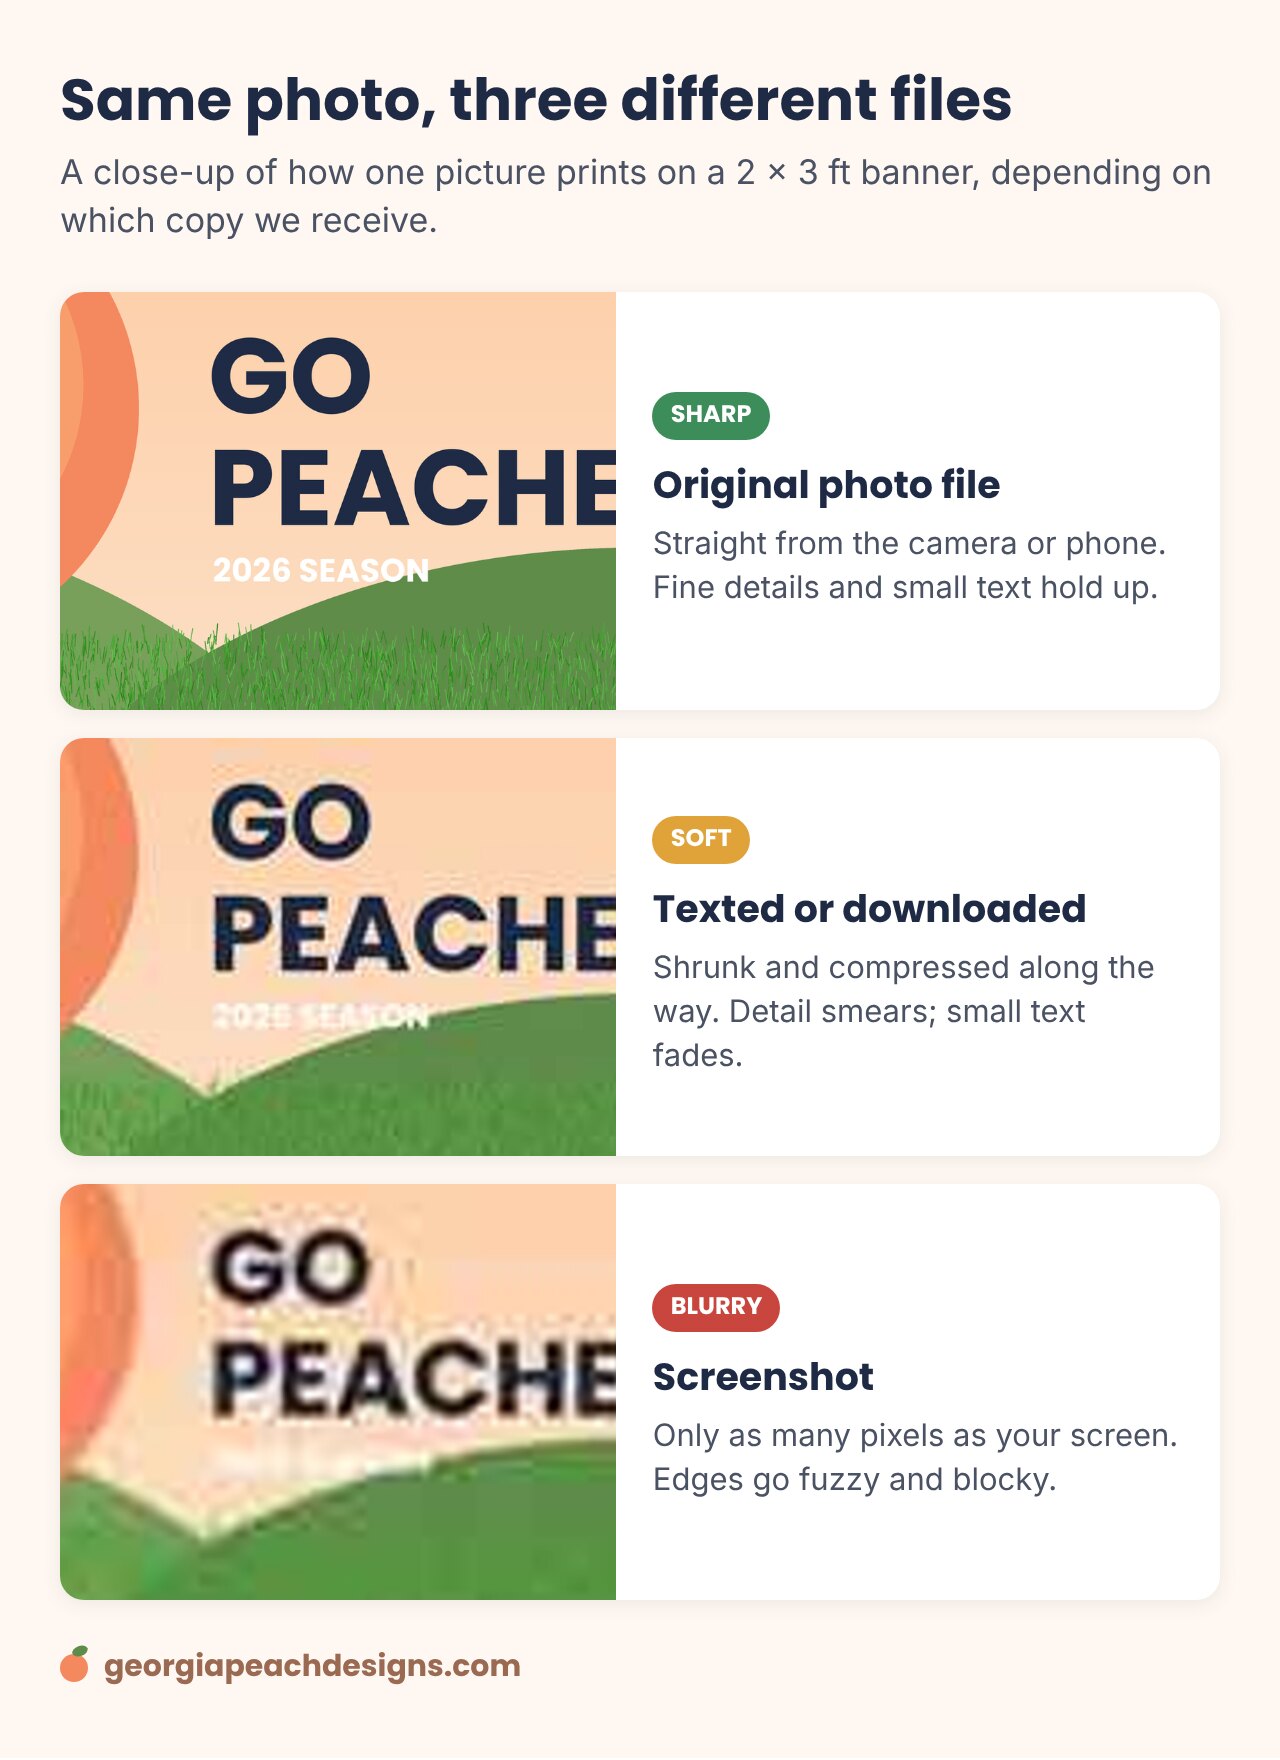
The usual culprits: screenshots, texts and social media
Most blurry banner photos don't start out small. They get smaller each time they're shared. Social media sites resize and compress uploads, many messaging apps shrink pictures so they send faster, and a screenshot only captures what's on your screen rather than the photo itself.
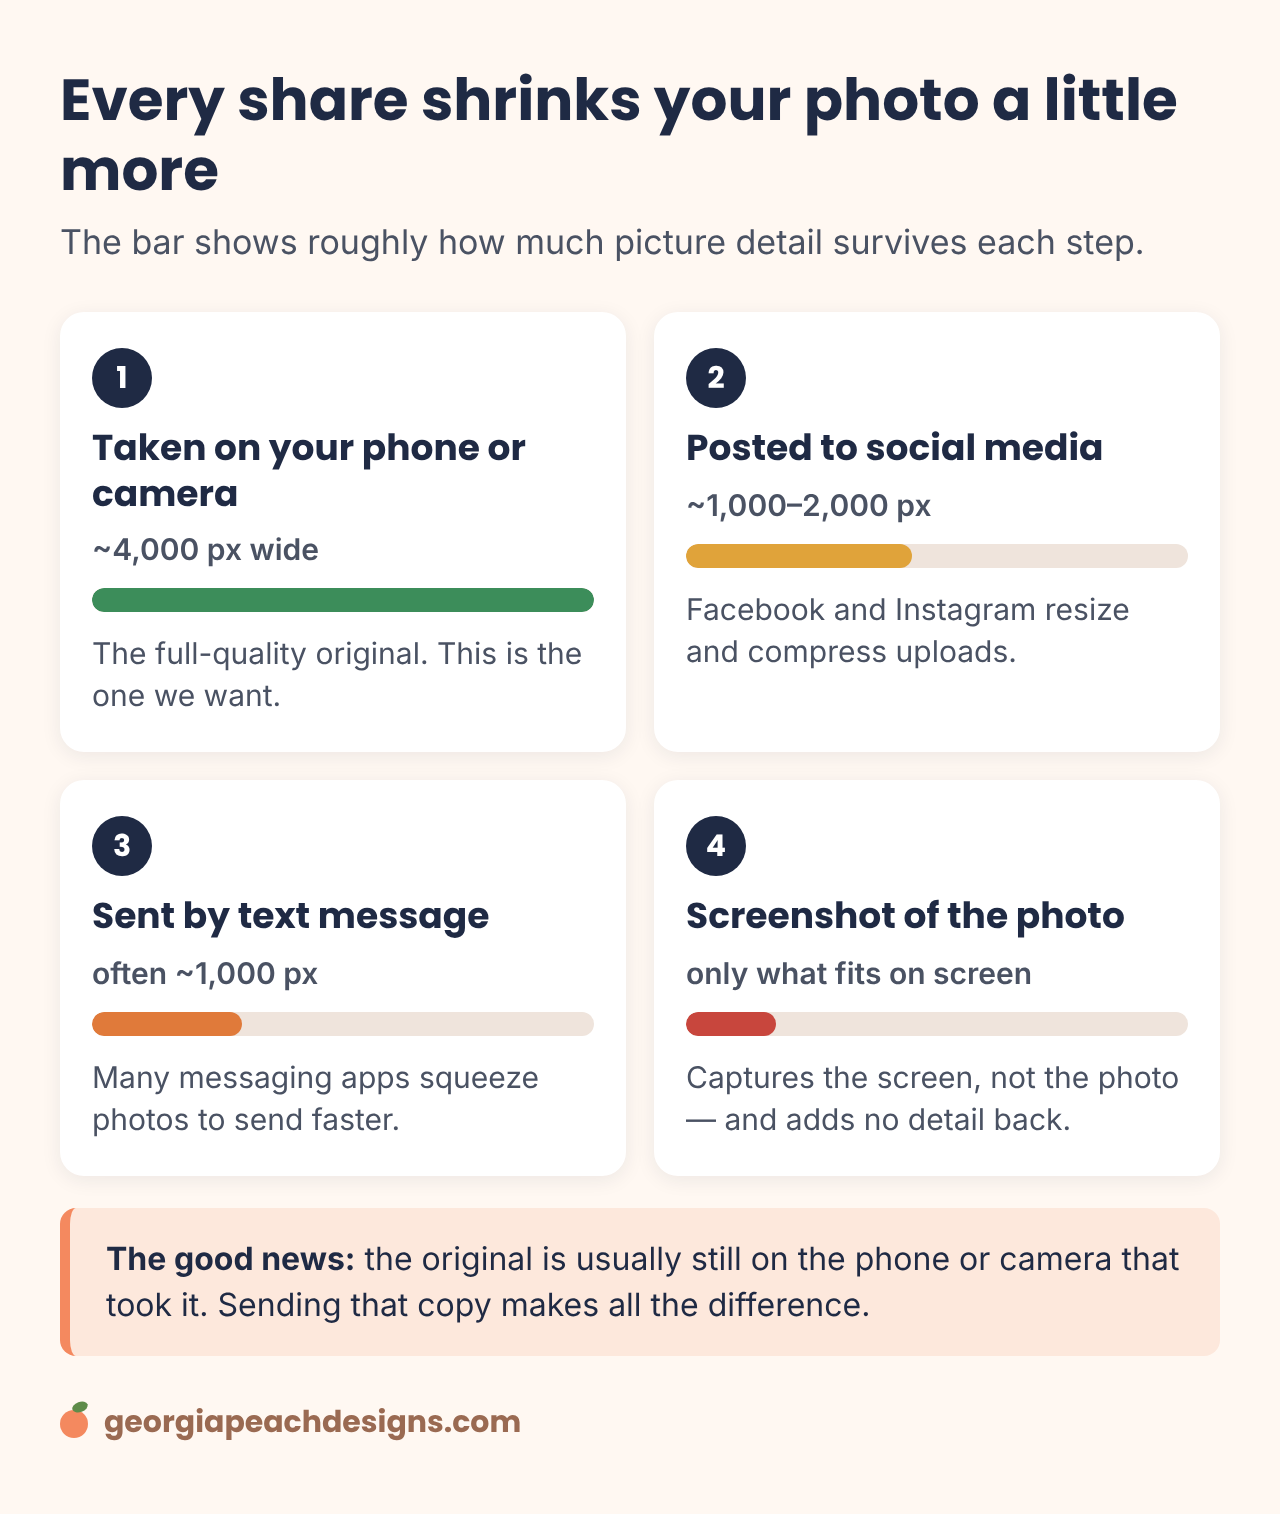
The good news: the full-quality original is usually still sitting on the phone, camera or computer that took the picture. If a friend or relative took it, just ask them to send the original file directly (more on how below).
How many pixels do you need?
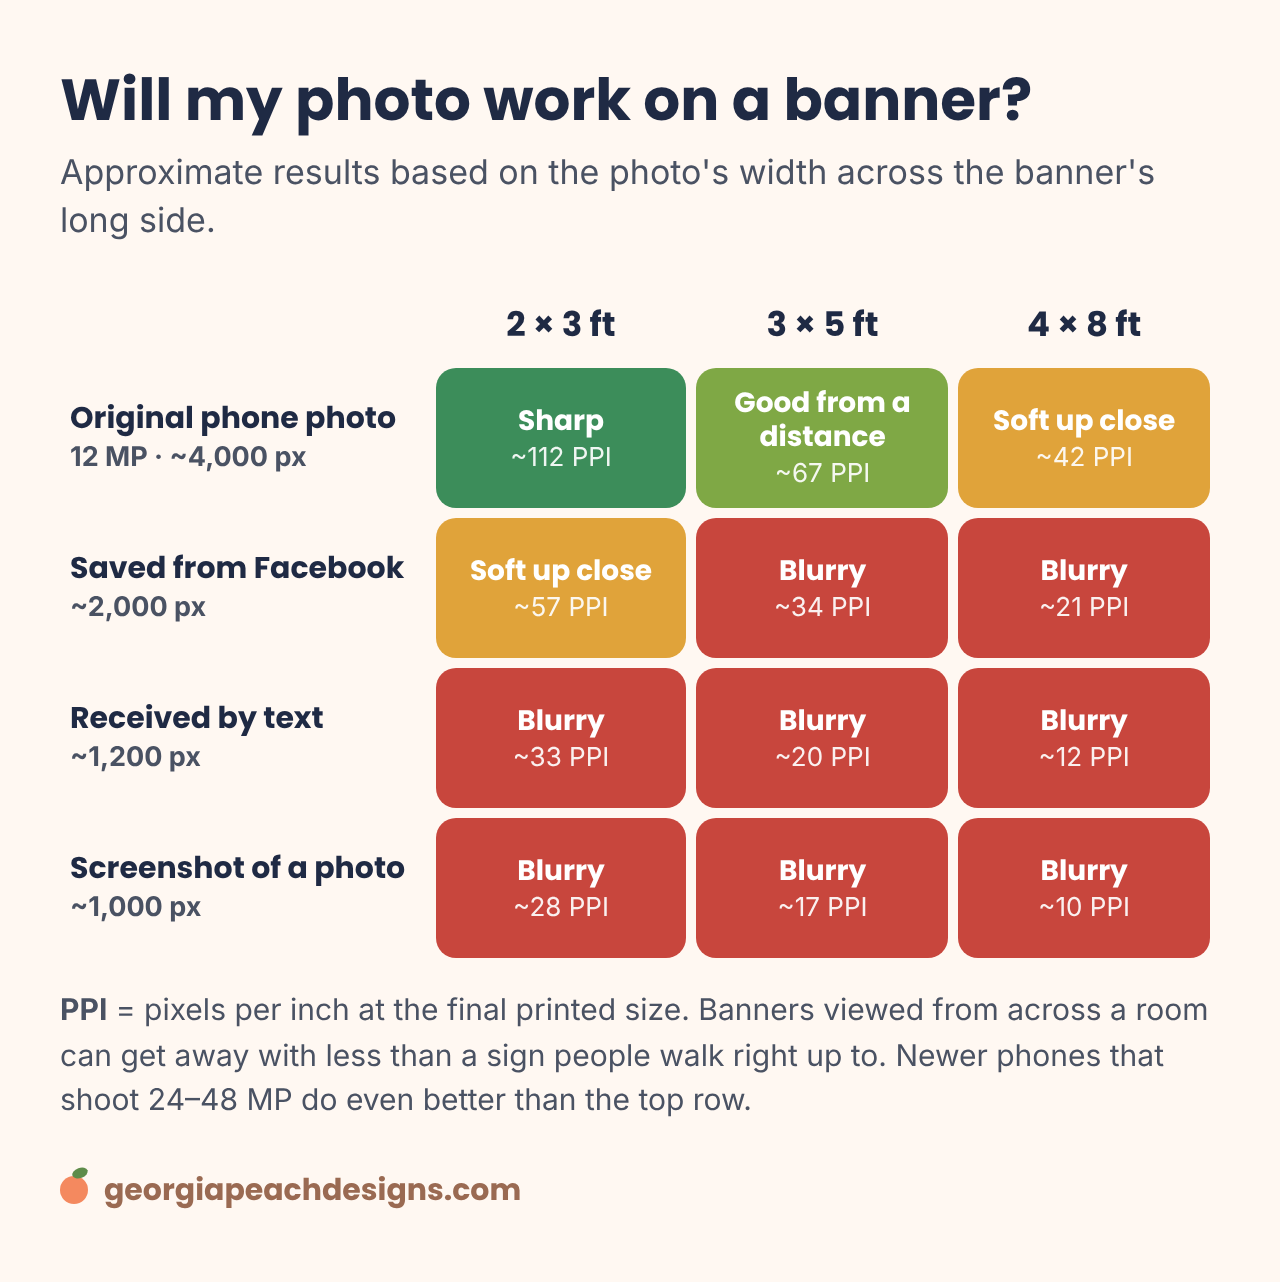
Print shops talk about PPI (pixels per inch) at the final printed size. For banners, here's a practical rule of thumb:
- 100–150 PPI: sharp, even when people walk right up to it.
- 60–100 PPI: looks good from a few feet back, which is how most banners are seen.
- Under about 40 PPI: softness and blockiness become easy to spot.
To figure out your number, divide the photo's pixel width by the banner's width in inches. For example, a 2 × 3 ft banner is 36 inches wide, so a photo that's 4,032 pixels wide gives you about 112 PPI. Great! A 1,000-pixel screenshot gives you about 28 PPI on the same banner.
How to check your photo's size
- iPhone: open the photo in Photos and tap the ⓘ button (or swipe up). You'll see something like 12 MP · 3024 × 4032.
- Android (Google Photos): open the photo and swipe up, or tap the three dots, to see Details with the pixel size.
- Windows: right-click the file, choose Properties, then the Details tab and look for Dimensions.
- Mac: open the file in Preview, then choose Tools › Show Inspector.
If the numbers are much smaller than the original photos on your phone, you're probably looking at a shared or screenshot copy.
Shape and safe zone
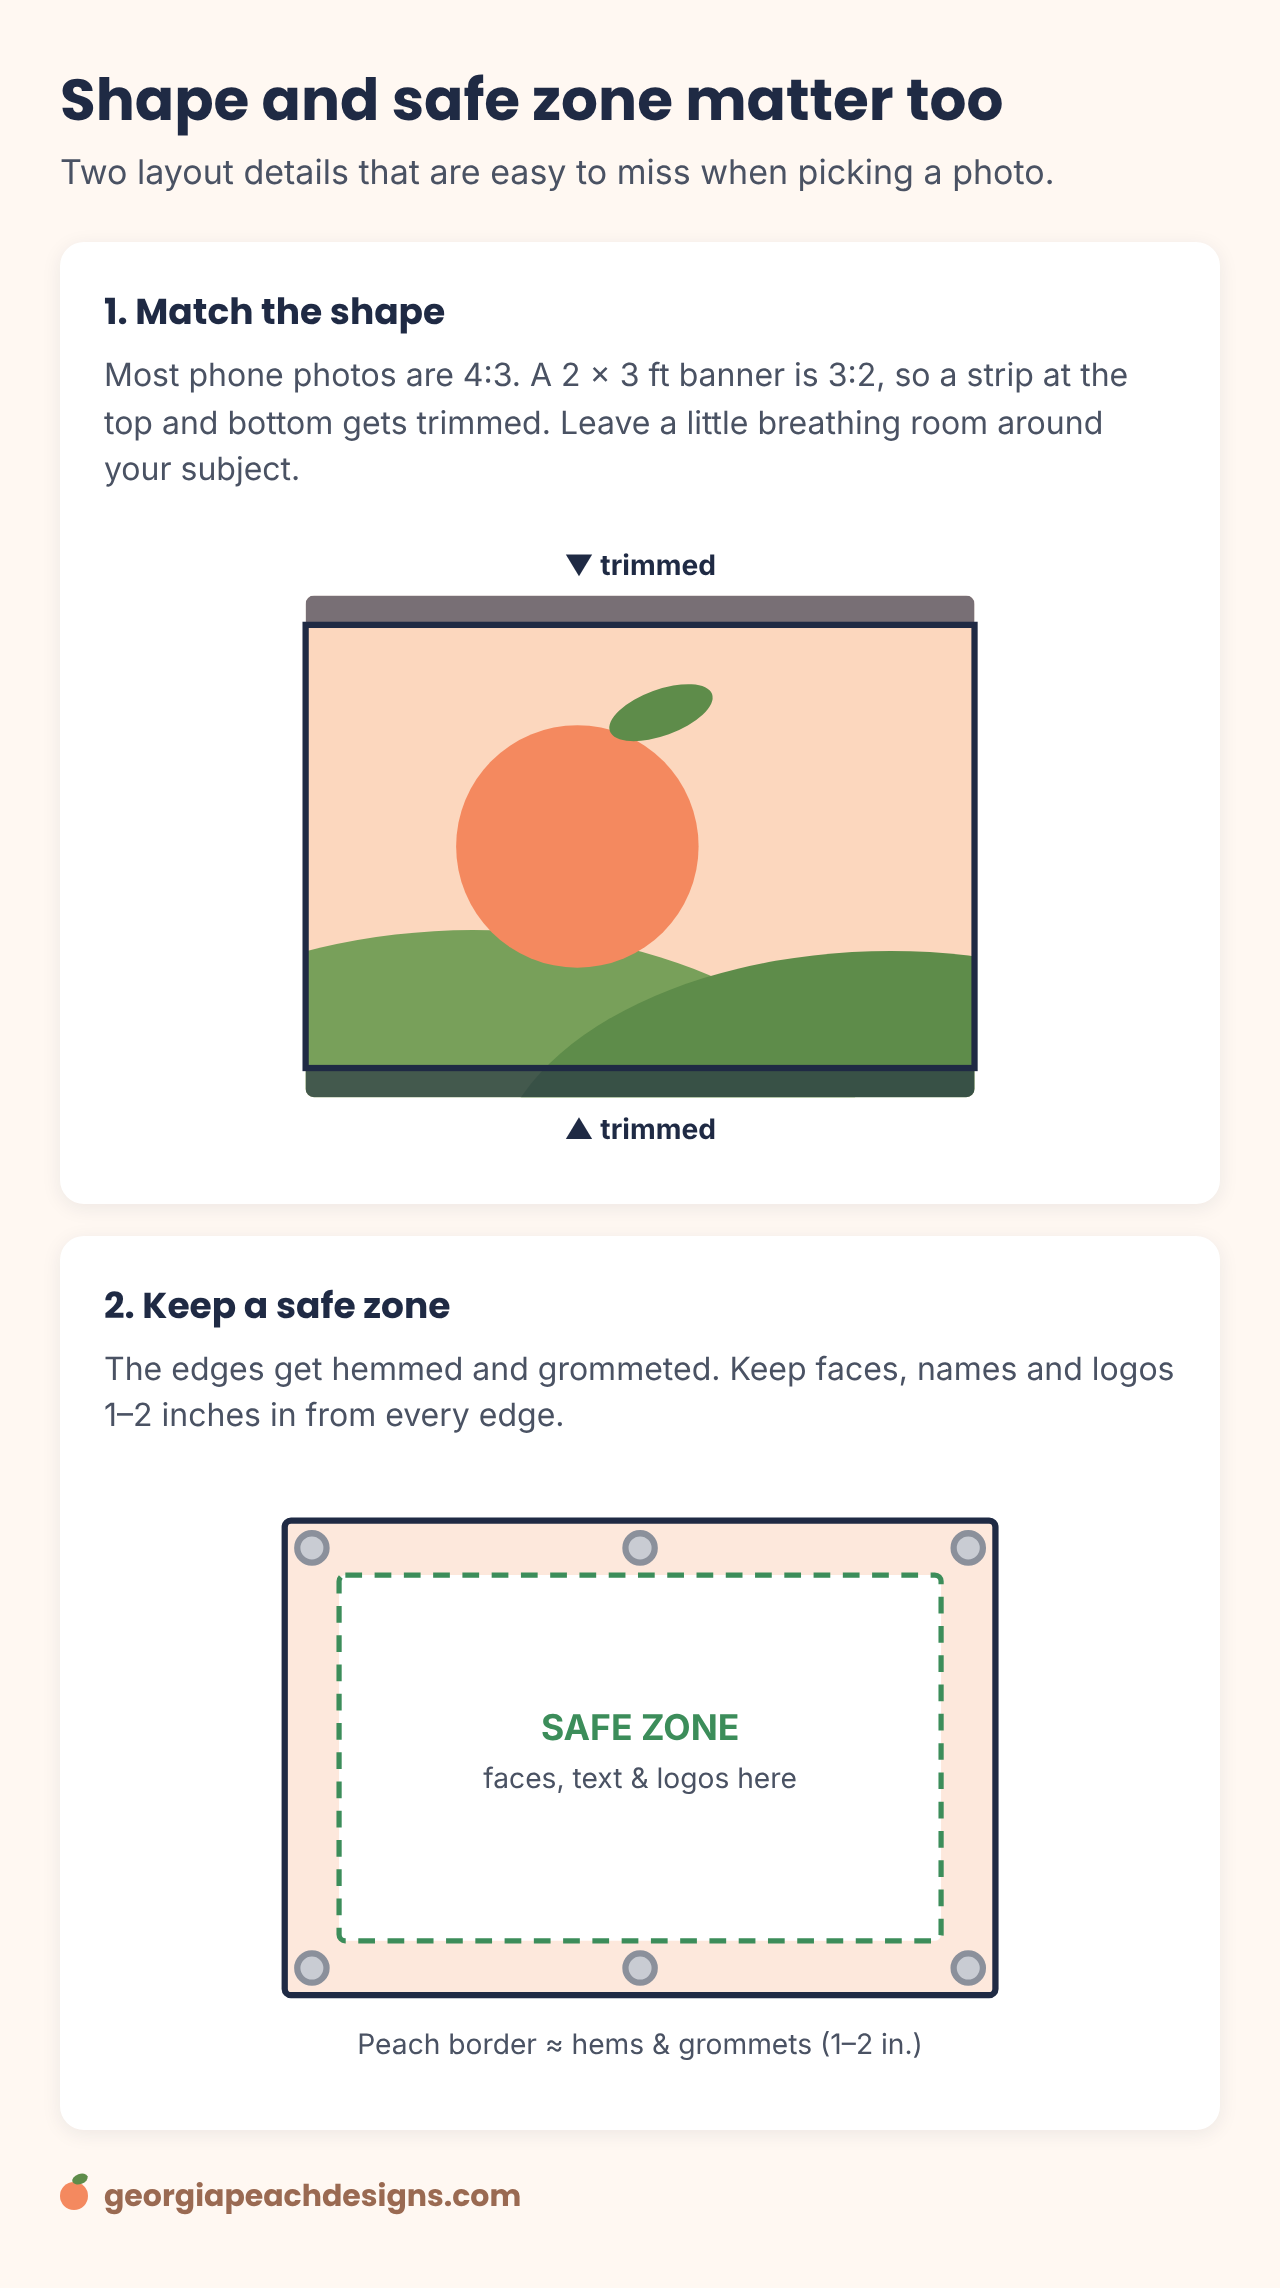
Two more things worth a quick look before you send. First, the shape of your photo may not match the shape of your banner, so a little gets trimmed to fit. Second, the edges of a vinyl banner are hemmed and fitted with grommets, so anything important should sit comfortably inside the border.
The best ways to send us your photo
When you place a banner order, you'll get a secure upload link for your photos. That's the best route because the file comes through at full size. Emailing works well too. On an iPhone, when Mail asks which size to send, choose Actual Size. A link to a shared album or cloud folder (Google Photos, iCloud, Dropbox or Google Drive) also keeps the original intact.
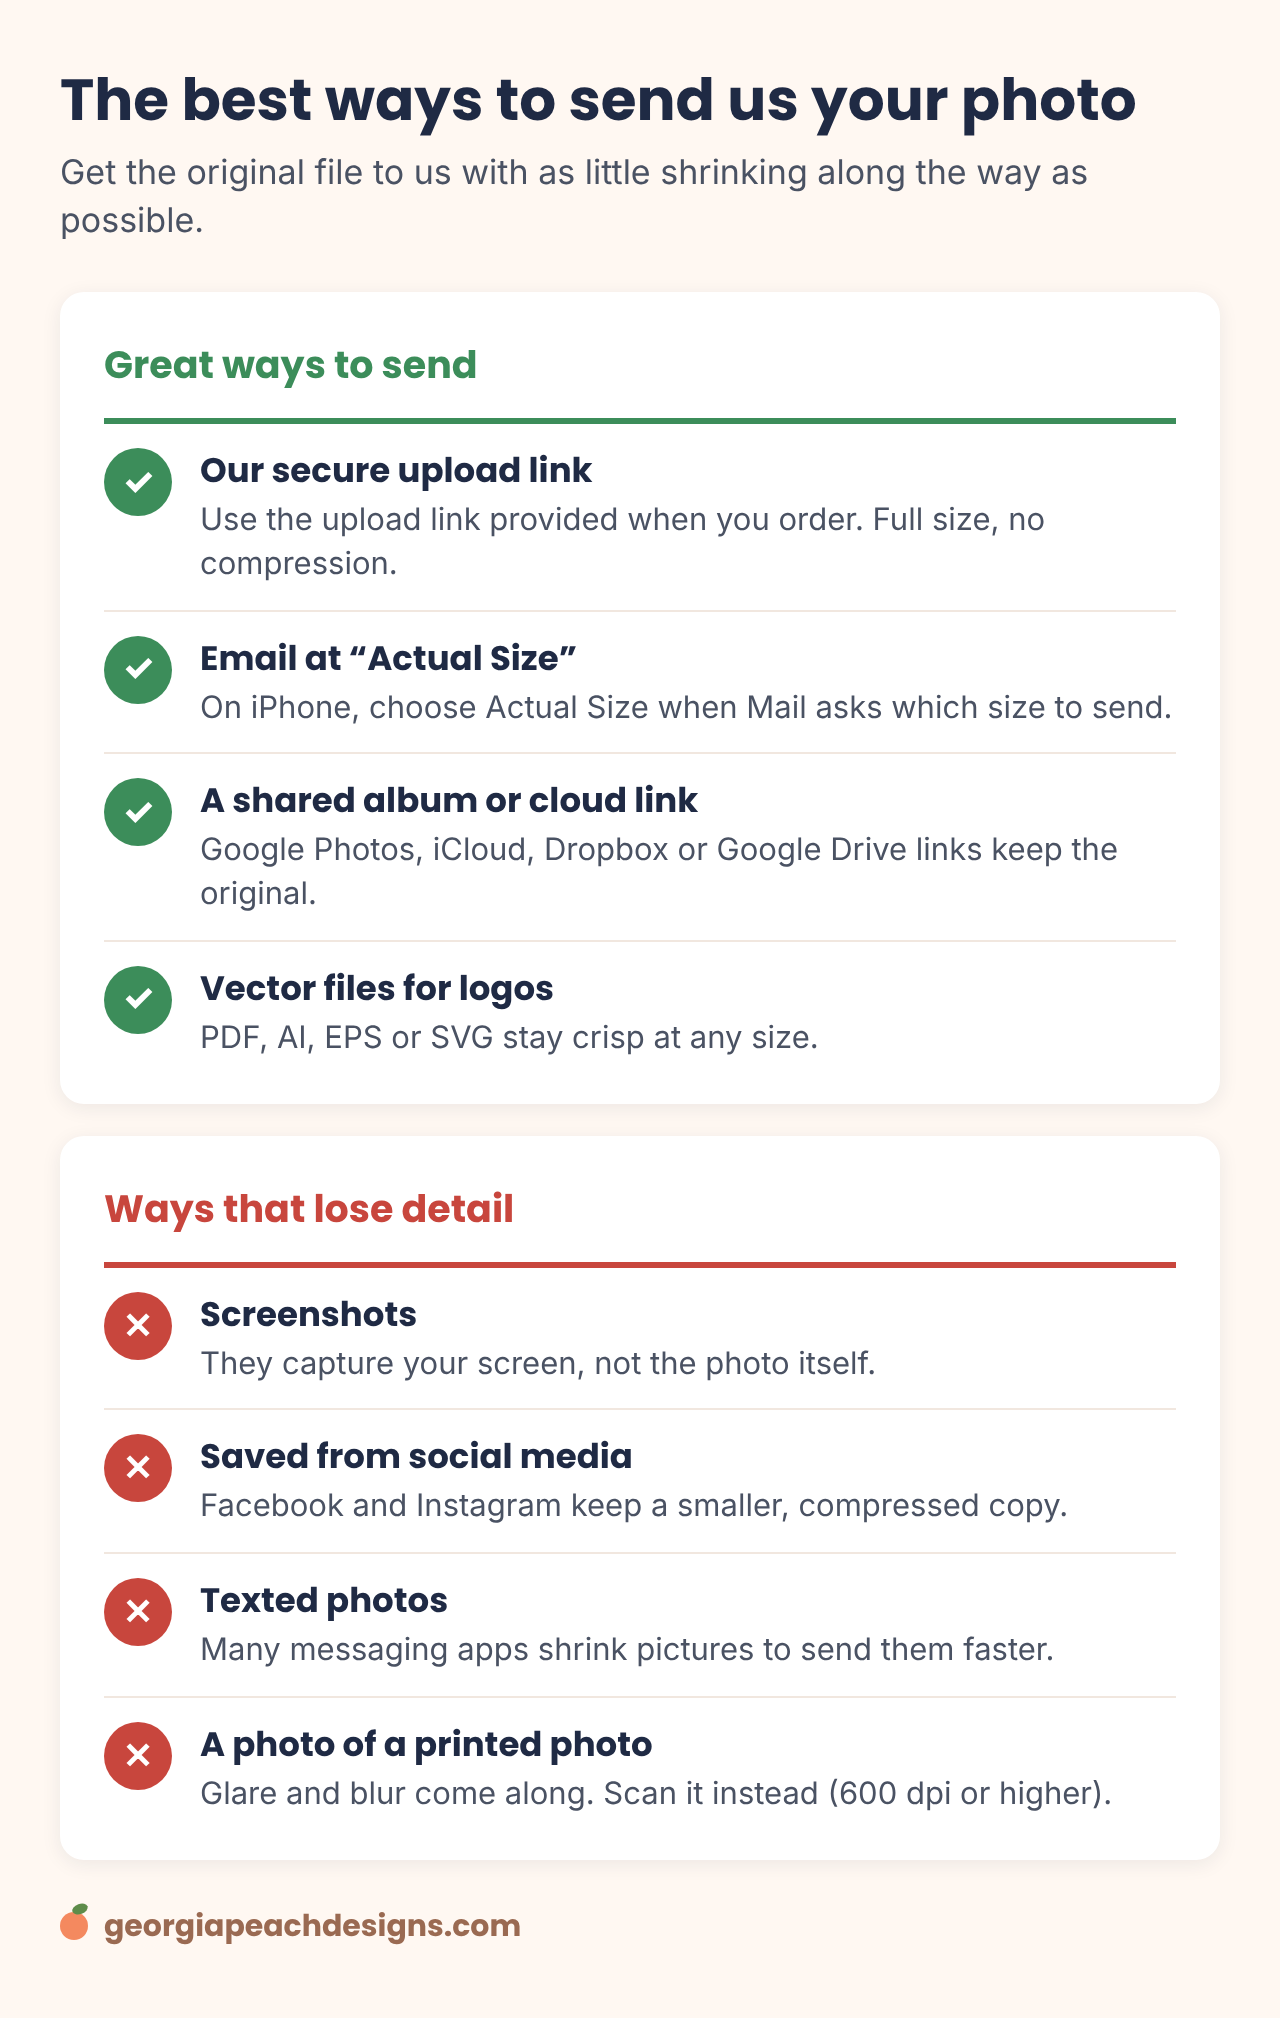
Logos and text-based artwork: if you have your logo as a vector file (PDF, AI, EPS or SVG), send that. Vector art is built from shapes instead of pixels, so it stays crisp at any size. A logo copied from a website or a Facebook profile is usually too small for a banner.
Old printed photos: rather than taking a picture of the print (which adds glare and blur), scan it at 600 dpi or higher. Many local libraries and office stores have scanners if you don't have one.
What if a small photo is all you have?
It happens, especially with older memories or photos of loved ones, and we still want to help. A few options that can work well:
- Go a size smaller. The same photo looks noticeably sharper on a smaller banner.
- Make the photo one part of the design. Placing it smaller alongside bold text and graphics keeps everything looking clean.
- Let us take a look. We can try enhancing it and will be upfront with you about how it's likely to print before anything goes to production.
Just let us know it's the only copy you have, and we'll work through it together.
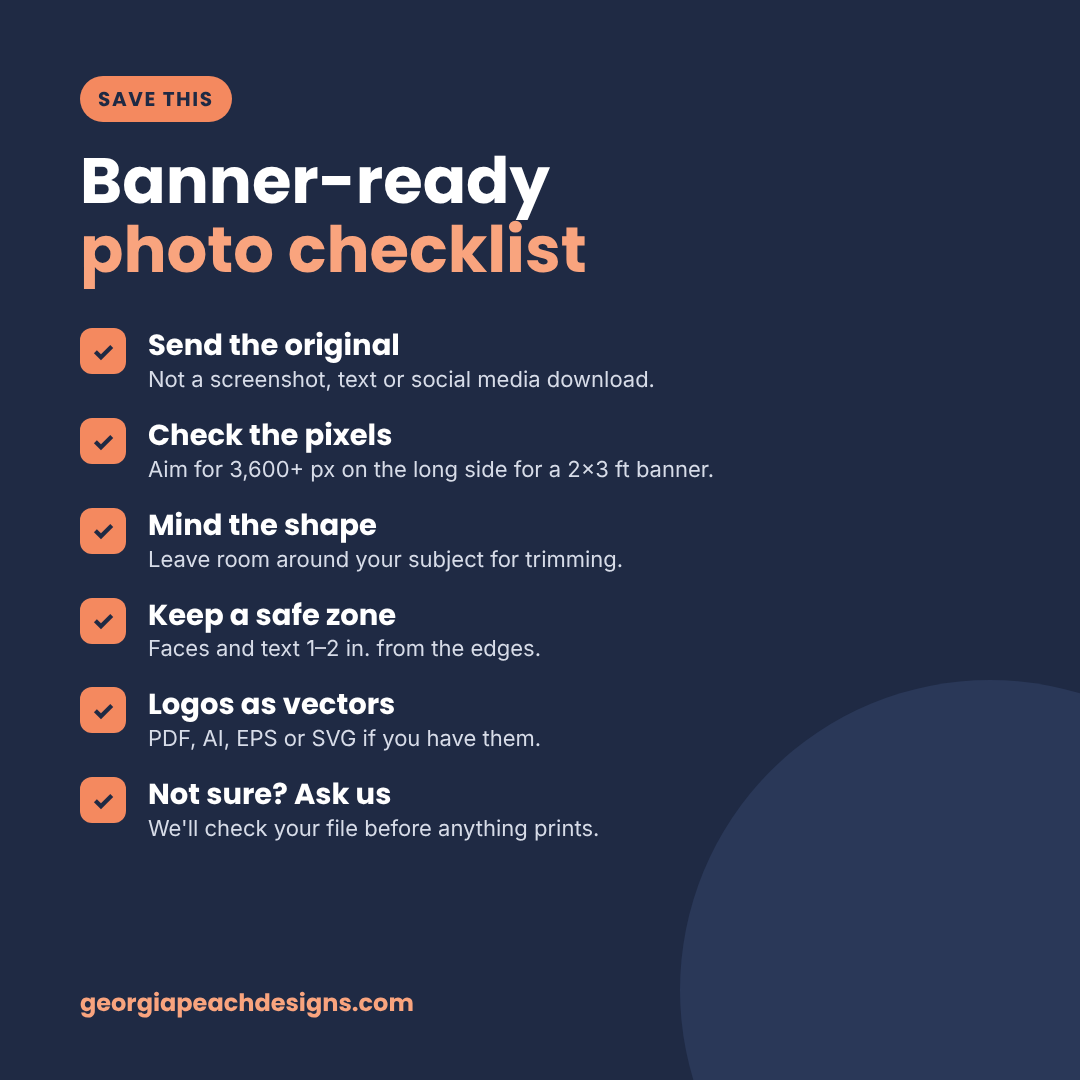
Your banner-ready checklist
Ready to make your banner?
Not sure if your photo will work? Send it our way and we'll take a look before anything prints. 🍑
Found this helpful? Share it with your team parent, event planner or anyone ordering a banner soon.


